
4.3: Selecting Data
- Page ID
- 14242

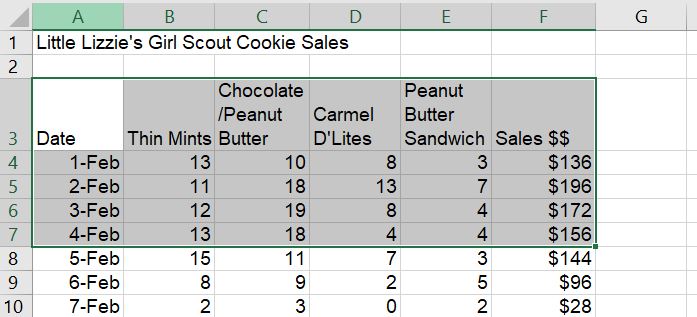
After entering data, a common practice is to begin formatting the data. However, before a user can format the data, they must first select the data. Selecting data has multiple techniques based on user intent. Clicking on a single cell makes that cell the active cell. The cell reference appears in the Name box to the left of the formula bar. To select an entire column of data, just click the column letter heading. To select an entire row, click the row number heading. If a user wants to select several cells adjacent to each other, this would be considered selecting contiguous cells. Clicking the middle of the cell and dragging horizontally or vertically will select a contiguous range of cells. Another way to select a contiguous range of sequential cells is to click the first cell, hold down the Shift key, and click the last cell in the range. For example, clicking cell A3, and then holding down the Shift key and selecting F7 would select all of the cells from A3 through F7. The range reference would be written as A3:F7.
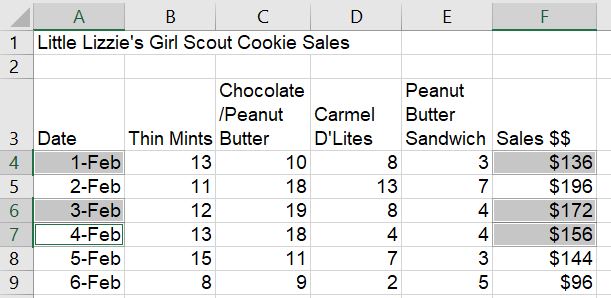
Selecting a non-contiguous range of cells requires the use of the Ctrl key. To select non-contiguous cells, click the first cell, hold down the Ctrl key, and click each additional cell. This practice is sometimes referred to as “cherry-picking” cells. In the example below, the selected range of cells are A4,A6,A7,F4,F6,F7. This practice can be used for selecting non-adjacent rows or columns as well.
To select the entire worksheet, click the triangle box located to the left of column A and above row 1, or by pressing the keyboard shortcut: Ctrl+A.