
13.4: Captions
- Page ID
- 13663

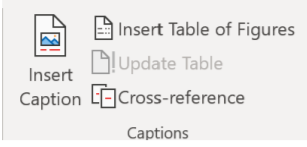
Captions allow the user to mark text under a specific graphic to further explain the picture. Selecting the Insert Caption Icon, Users can customization their caption text, and its location in the document.
Example of caption settings

Inserting a Table of Figures is like a Table of Contents, except it is only for captions. Usually, a table of figures, if used, is placed at the end of the document. Finally, cross-references allow the user to quickly place links in a document to other information in the document. For example, if I wanted to remind the user what a Motherboard on a computer was, I could create a Cross-reference of the word “Motherboard:” and it would be hyperlinked to Chapter One, so when the user clicked on “Motherboard”, they were immediately sent to Chapter 1. The cross-reference feature of Microsoft Word requires the use of headings, or other citations to be able to navigate the document.
Index Group
Have you ever looked at the end of a book and found an enormous index that contained everything in the book and wondered how it was that this was created? Microsoft Word creates an easy way to create an index if needed. First, to place a word or phrase in the index, highlight the word(s) and select Mark Entry. Users can then specify how they want that phrase to appear in the index.
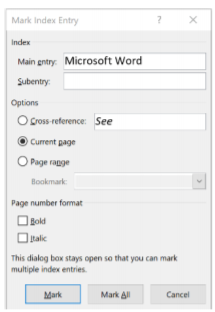
The Insert Index creates an index at the insertion point from every item that was marked for entry into the index. Finally, the Update Index icon updates the index with any new entries entered after the initial index was created.
Table of Authorities Group

If a user wanted to write a legal brief that contained an index of cases, laws, court decisions, etc., they would use a Table of Authorities at the end of the document instead of a bibliography. Just like the Citations command, the Mark Citation in the Table of Authorities Group will create a citation in the proper format, and users can insert a Table Authorities at their desired insertion point and update the table as needed.