
15.6: Cells Group
- Page ID
- 13681

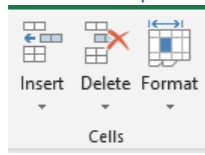
The Excel Cells Group allows the user to add, delete, or change specific cells. The Cells group does not format the information inside the cells, but rather the cells themselves. Selecting the Insert icon will launch a drop-down dialog box allowing the user to insert cells, rows, columns, or entire sheets into the workbook. The insert command is particularly helpful in Excel if the user wishes to enter new cell information between existing cells of data. When a new cell, column, or row is inserted, the default action is to move the other data down, or to the right of the insertion point depending on whether a row or column was inserted. Information that is moved is maintained in its form, and any formulas associated with it are moved to the new relative cell location so calculations are correct.

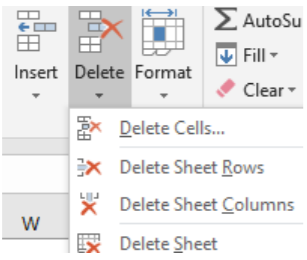
The Delete function performs in the opposite way compared to the Insert Command. It allows the user to Delete selected cells, rows, columns, or entire sheets. Users chose to perform this function to quickly remove sets of data that are no longer needed.
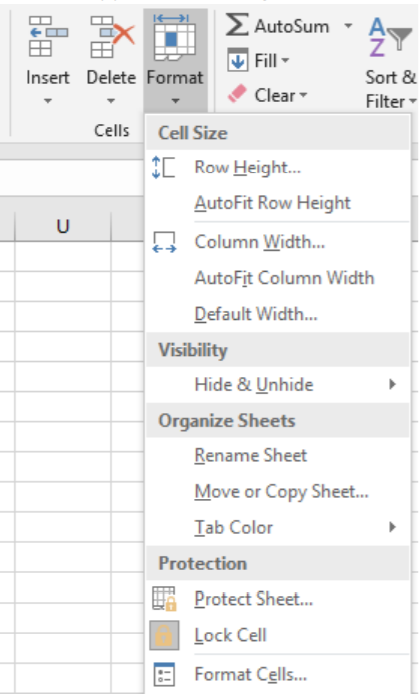
Finally, the Format icon of the Cells Group allows for multiple adjustments to be made to specific cell properties. Cells can be adjusted for Row Height and Column width manually, or via AutoFit, which automatically sizes the row or column to be just large enough to fit the selected cell height or width. Hide & Unhide settings allow the user to hide selected rows or columns so that they do not display to the user. The data in the cells are still there but must be unhidden using this icon to display the data again. The Hide command is often used when presenting a spreadsheet and the workbook creator does not want to show the viewer all of the Excel calculations in order to keep the spreadsheet simple. When rows or columns are hidden, there will be a break in the alphabetical or numerical order of the column or row to show that there is hidden information. The organize sheets command lets a user quickly rename, copy, move, or change the tab color of sheets in a workbook.
Protect Sheet & Lock Cell
Imagine that you are distributing a budget with detailed figures on employee salaries to your management team. You are concerned that someone may decide to change the information in the budget and send it out to others. To prevent this from happening, you may decide to select the Protect Sheet icon. Using the Protect Sheet command, workbook creators can create a password to protect the sheet against unauthorized changes and prevent the user from making any number of changes to specific contents of a worksheet. Because this command is restricted to specific sheets, the user can protect one sheet, and not others if they choose to.
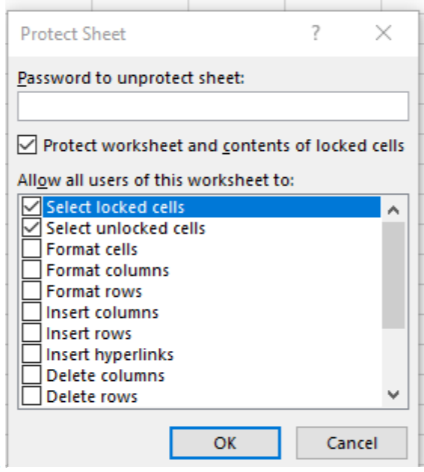
Once Protect Sheet is enabled with a password and specific actions are allowed or prevented, users can select the “Lock Cells” command beneath the “Protect Sheet” command to require a password before a user can make any changes to the cells that the user selected prior to clicking “Lock Cells”. If a user would like to unprotect the sheet and allow editing without a password, they can enter the password again in the “Protect Sheet” dialog box to unprotect the sheet.