
17.2: View Tab
- Page ID
- 13694

\( \newcommand{\vecs}[1]{\overset { \scriptstyle \rightharpoonup} {\mathbf{#1}} } \)
\( \newcommand{\vecd}[1]{\overset{-\!-\!\rightharpoonup}{\vphantom{a}\smash {#1}}} \)
\( \newcommand{\id}{\mathrm{id}}\) \( \newcommand{\Span}{\mathrm{span}}\)
( \newcommand{\kernel}{\mathrm{null}\,}\) \( \newcommand{\range}{\mathrm{range}\,}\)
\( \newcommand{\RealPart}{\mathrm{Re}}\) \( \newcommand{\ImaginaryPart}{\mathrm{Im}}\)
\( \newcommand{\Argument}{\mathrm{Arg}}\) \( \newcommand{\norm}[1]{\| #1 \|}\)
\( \newcommand{\inner}[2]{\langle #1, #2 \rangle}\)
\( \newcommand{\Span}{\mathrm{span}}\)
\( \newcommand{\id}{\mathrm{id}}\)
\( \newcommand{\Span}{\mathrm{span}}\)
\( \newcommand{\kernel}{\mathrm{null}\,}\)
\( \newcommand{\range}{\mathrm{range}\,}\)
\( \newcommand{\RealPart}{\mathrm{Re}}\)
\( \newcommand{\ImaginaryPart}{\mathrm{Im}}\)
\( \newcommand{\Argument}{\mathrm{Arg}}\)
\( \newcommand{\norm}[1]{\| #1 \|}\)
\( \newcommand{\inner}[2]{\langle #1, #2 \rangle}\)
\( \newcommand{\Span}{\mathrm{span}}\) \( \newcommand{\AA}{\unicode[.8,0]{x212B}}\)
\( \newcommand{\vectorA}[1]{\vec{#1}} % arrow\)
\( \newcommand{\vectorAt}[1]{\vec{\text{#1}}} % arrow\)
\( \newcommand{\vectorB}[1]{\overset { \scriptstyle \rightharpoonup} {\mathbf{#1}} } \)
\( \newcommand{\vectorC}[1]{\textbf{#1}} \)
\( \newcommand{\vectorD}[1]{\overrightarrow{#1}} \)
\( \newcommand{\vectorDt}[1]{\overrightarrow{\text{#1}}} \)
\( \newcommand{\vectE}[1]{\overset{-\!-\!\rightharpoonup}{\vphantom{a}\smash{\mathbf {#1}}}} \)
\( \newcommand{\vecs}[1]{\overset { \scriptstyle \rightharpoonup} {\mathbf{#1}} } \)
\( \newcommand{\vecd}[1]{\overset{-\!-\!\rightharpoonup}{\vphantom{a}\smash {#1}}} \)
\(\newcommand{\avec}{\mathbf a}\) \(\newcommand{\bvec}{\mathbf b}\) \(\newcommand{\cvec}{\mathbf c}\) \(\newcommand{\dvec}{\mathbf d}\) \(\newcommand{\dtil}{\widetilde{\mathbf d}}\) \(\newcommand{\evec}{\mathbf e}\) \(\newcommand{\fvec}{\mathbf f}\) \(\newcommand{\nvec}{\mathbf n}\) \(\newcommand{\pvec}{\mathbf p}\) \(\newcommand{\qvec}{\mathbf q}\) \(\newcommand{\svec}{\mathbf s}\) \(\newcommand{\tvec}{\mathbf t}\) \(\newcommand{\uvec}{\mathbf u}\) \(\newcommand{\vvec}{\mathbf v}\) \(\newcommand{\wvec}{\mathbf w}\) \(\newcommand{\xvec}{\mathbf x}\) \(\newcommand{\yvec}{\mathbf y}\) \(\newcommand{\zvec}{\mathbf z}\) \(\newcommand{\rvec}{\mathbf r}\) \(\newcommand{\mvec}{\mathbf m}\) \(\newcommand{\zerovec}{\mathbf 0}\) \(\newcommand{\onevec}{\mathbf 1}\) \(\newcommand{\real}{\mathbb R}\) \(\newcommand{\twovec}[2]{\left[\begin{array}{r}#1 \\ #2 \end{array}\right]}\) \(\newcommand{\ctwovec}[2]{\left[\begin{array}{c}#1 \\ #2 \end{array}\right]}\) \(\newcommand{\threevec}[3]{\left[\begin{array}{r}#1 \\ #2 \\ #3 \end{array}\right]}\) \(\newcommand{\cthreevec}[3]{\left[\begin{array}{c}#1 \\ #2 \\ #3 \end{array}\right]}\) \(\newcommand{\fourvec}[4]{\left[\begin{array}{r}#1 \\ #2 \\ #3 \\ #4 \end{array}\right]}\) \(\newcommand{\cfourvec}[4]{\left[\begin{array}{c}#1 \\ #2 \\ #3 \\ #4 \end{array}\right]}\) \(\newcommand{\fivevec}[5]{\left[\begin{array}{r}#1 \\ #2 \\ #3 \\ #4 \\ #5 \\ \end{array}\right]}\) \(\newcommand{\cfivevec}[5]{\left[\begin{array}{c}#1 \\ #2 \\ #3 \\ #4 \\ #5 \\ \end{array}\right]}\) \(\newcommand{\mattwo}[4]{\left[\begin{array}{rr}#1 \amp #2 \\ #3 \amp #4 \\ \end{array}\right]}\) \(\newcommand{\laspan}[1]{\text{Span}\{#1\}}\) \(\newcommand{\bcal}{\cal B}\) \(\newcommand{\ccal}{\cal C}\) \(\newcommand{\scal}{\cal S}\) \(\newcommand{\wcal}{\cal W}\) \(\newcommand{\ecal}{\cal E}\) \(\newcommand{\coords}[2]{\left\{#1\right\}_{#2}}\) \(\newcommand{\gray}[1]{\color{gray}{#1}}\) \(\newcommand{\lgray}[1]{\color{lightgray}{#1}}\) \(\newcommand{\rank}{\operatorname{rank}}\) \(\newcommand{\row}{\text{Row}}\) \(\newcommand{\col}{\text{Col}}\) \(\renewcommand{\row}{\text{Row}}\) \(\newcommand{\nul}{\text{Nul}}\) \(\newcommand{\var}{\text{Var}}\) \(\newcommand{\corr}{\text{corr}}\) \(\newcommand{\len}[1]{\left|#1\right|}\) \(\newcommand{\bbar}{\overline{\bvec}}\) \(\newcommand{\bhat}{\widehat{\bvec}}\) \(\newcommand{\bperp}{\bvec^\perp}\) \(\newcommand{\xhat}{\widehat{\xvec}}\) \(\newcommand{\vhat}{\widehat{\vvec}}\) \(\newcommand{\uhat}{\widehat{\uvec}}\) \(\newcommand{\what}{\widehat{\wvec}}\) \(\newcommand{\Sighat}{\widehat{\Sigma}}\) \(\newcommand{\lt}{<}\) \(\newcommand{\gt}{>}\) \(\newcommand{\amp}{&}\) \(\definecolor{fillinmathshade}{gray}{0.9}\)The View Tab controls how information is displayed to the user. It allows the user to customize their workflow and make the document easy to understand to the user. It also allows for the creation of Macros, which are recorded combinations of commands that allow the user to create “buttons” to perform complex commands and functions at once. The View Tab is divided into five groups: Workbook Views, Show, Zoom, Window, and Macros.

Workbook Views Group
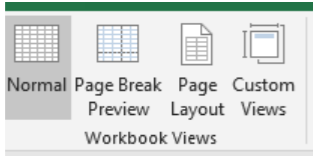
The Workbook Views Group allows the user to toggle between common spreadsheet views in Microsoft Excel. The Normal view is the default view and provides information just the cell views in a spreadsheet.
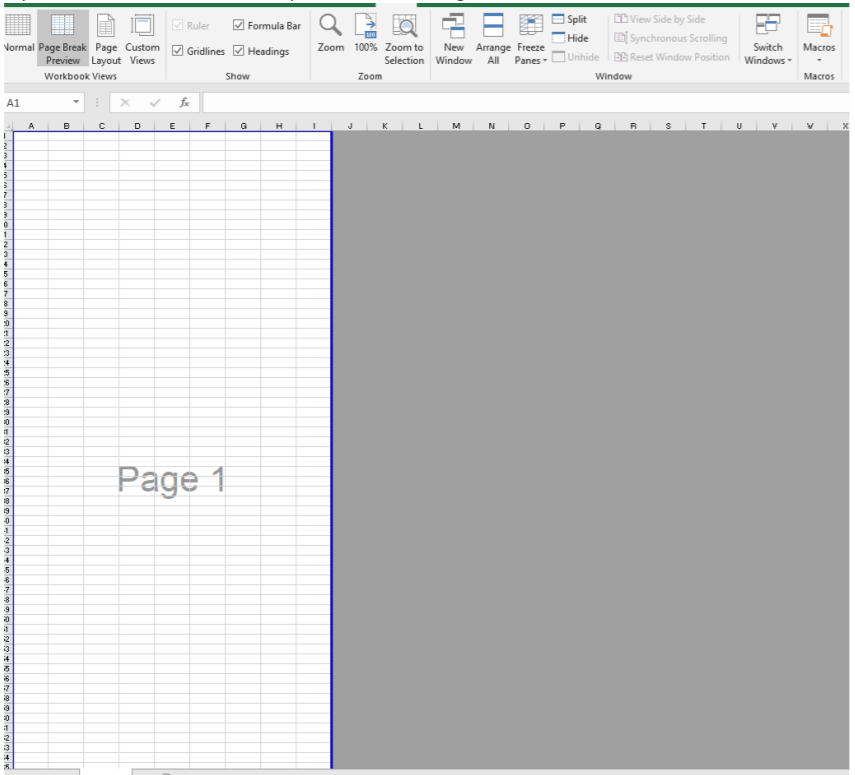
The Page Break preview displays a visual of what the document looks like if printed. A visual of this view is provided below. You cannot edit your document in Page Break Preview.
Page Layout View allows the user to determine what their document would look like if printed as well, but with the opportunity to edit your document and insert page breaks. Finally, Custom Views allows the user to create specific views and save them.
Show Group
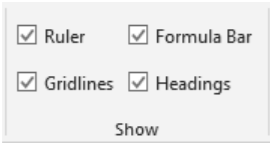
The Show Group has just four setting toggles to control the visual appearance of the worksheet. The Ruler checkbox displays or hides the Ruler in the Page Layout View. A picture of the ruler is below.

Gridlines are the boxes around each cell. Unchecking this box will remove all lines from cells. The cells will remain. The Formula Bar  can be checked and displayed or hidden. Finally, unchecking the Headings box will remove the numbered rows and lettered columns from the sheet view.
Zoom Group
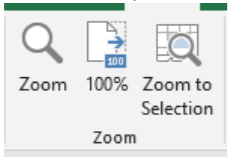
The Zoom Group allows the user to adjust how close each cell will appear in size on in the worksheet. The Zoom icon allows the user to customize the magnification of Zoom using presets or creating a custom preset. The Fit selection radio box allows to enlarge and center a selected range of cells.
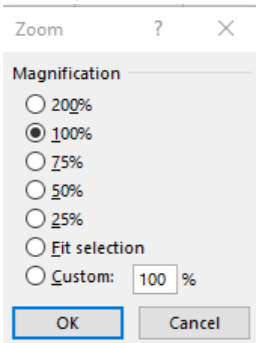
The 100% icon allows the Zoom to be returned to the default view while Zoom to selection allows for the user to magnify the selected cell or range of cells.
Window Group
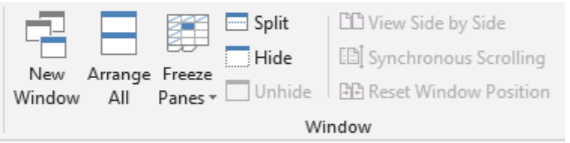
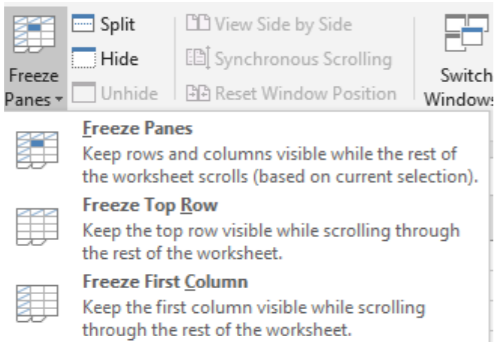
The Window Group allows the user to customize their worksheet view to display the same worksheet in multiple ways to be as efficient as possible. The New Window icon allows the user to have multiple open windows for the same document so they can work in different areas of the Worksheet at the same time. For example, perhaps you want to work on a table of data at the top of the worksheet and charts based upon the data at the bottom of the worksheet. By creating a New Window, you can view multiple places in the same worksheet at the same time. By clicking on Arrange All, the user can display these worksheet views side by side and by selecting the icon Switch Windows,  select between them. Freeze Panes can be a very helpful way to view data when working with a large dataset. As an example, imagine that you are working with a long list of sales data. When entering data in new rows, you are no longer able to see the top header rows. To ensure that you are able to view the top header rows, the Freeze Panes icon allows the user to Freeze either the Top Row, the First Column (for worksheets with many columns, or freeze a specific cell location so that all cells above it is does not move when scrolling.
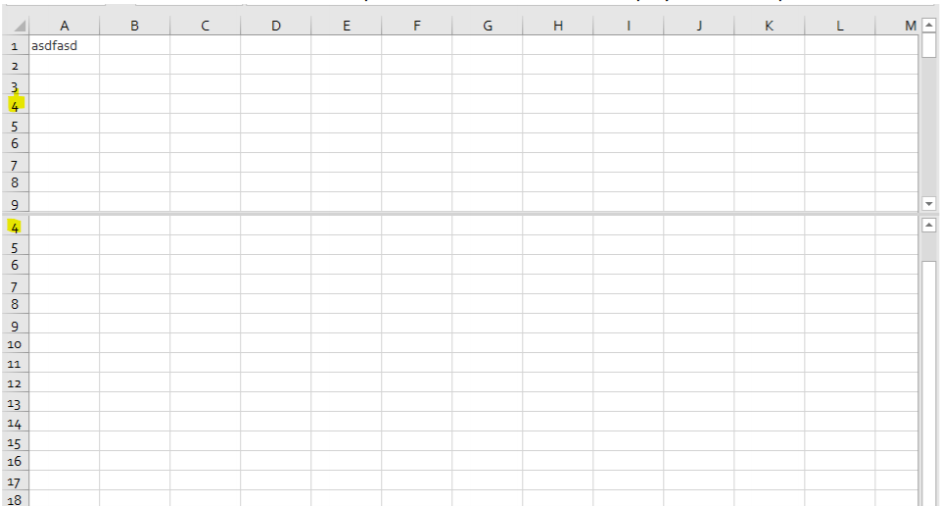
The Split Icon allows very similar functionality to the New Window command, except that the Split Command allows the user to specify the location for the split. Any row above the Split line will be displayed above, and any row below the split will be displayed in the same worksheet below. Each area receives its own scrollbar. Notice in the picture below how row 4 is displayed in both split views.
The Hide command  allows the user to hide their workbook to not display to the user, while unhide allows the worksheet to become visible again. To hide specific rows or columns, right-click on the row or column you wish to Hide and select the Hide command. You can determine which rows or columns are hidden because they are no longer presented in chronological order.
  . To unhide a column, click on both rows or columns and select Unhide. The last commands in the Windows Group
 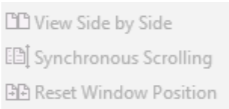 View Side by Side, Synchronous Scrolling, and Reset Window Position are used when using the New Window command to display the same document in multiple views. These commands allow the document to be viewed next to each other, to sync the scrolling so each window moves at the same time, and bring the window position back to its default setting.
Macros
An Excel Macro is a piece of programming code that runs in an Excel environment and helps automate routine tasks. A macro is an excel task recording and playback tool. You simply record your Excel steps and the macro will play it back. Let's say you work as a cashier for a water utility company. Some of the customers pay through the bank and at the end of the day, you are required to download the data from the bank and format it in a format that meets your business requirements. You can import the data into Excel and format. The following day you will be required to perform the same ritual. It will soon become boring and tedious. Macros solve such problems by automating such routine tasks. Macros will be covered in a later chapter of this text for advanced users.